TUNING: Build-A-Base
Written on November 14th, 2023 by Eliot Cochrane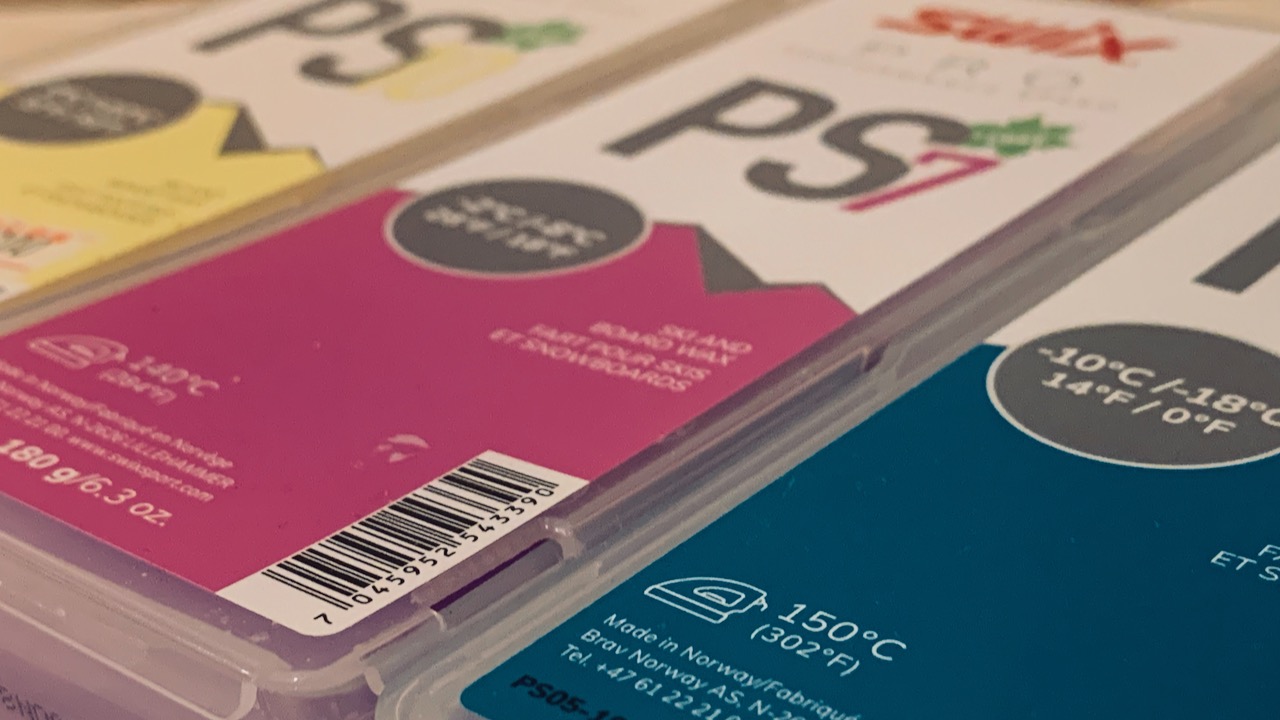
Refresh Your Skis
Guide And Tips To Get Skis Ready
The ski season has already started in some areas of Europe and North America. It’s time for us to get ready for when the white powder begins to drop on us! Today, we’ll take a step into preparing skis for the new season. But instead of new skis, we’ll be taking this from the angle that there are already a loved pair of skis that will never leave your grip until they are dead and gone.
We’ll be looking at storage wax removal, edge maintenance, base condition check, and then giving the skis the wax juice that will be so important once the slopes open. Come with us a little further as we start preparing our old skis for the season.
This is a basic guide for those in need of a quick reminder of what to do without needing a race tune.
Remember to follow safety precautions and consider having a professional tune skis if ever feeling doubt or uneasy with any of the steps. Additionally, it’s essential to regularly maintain skis throughout the season to ensure they perform at their best.
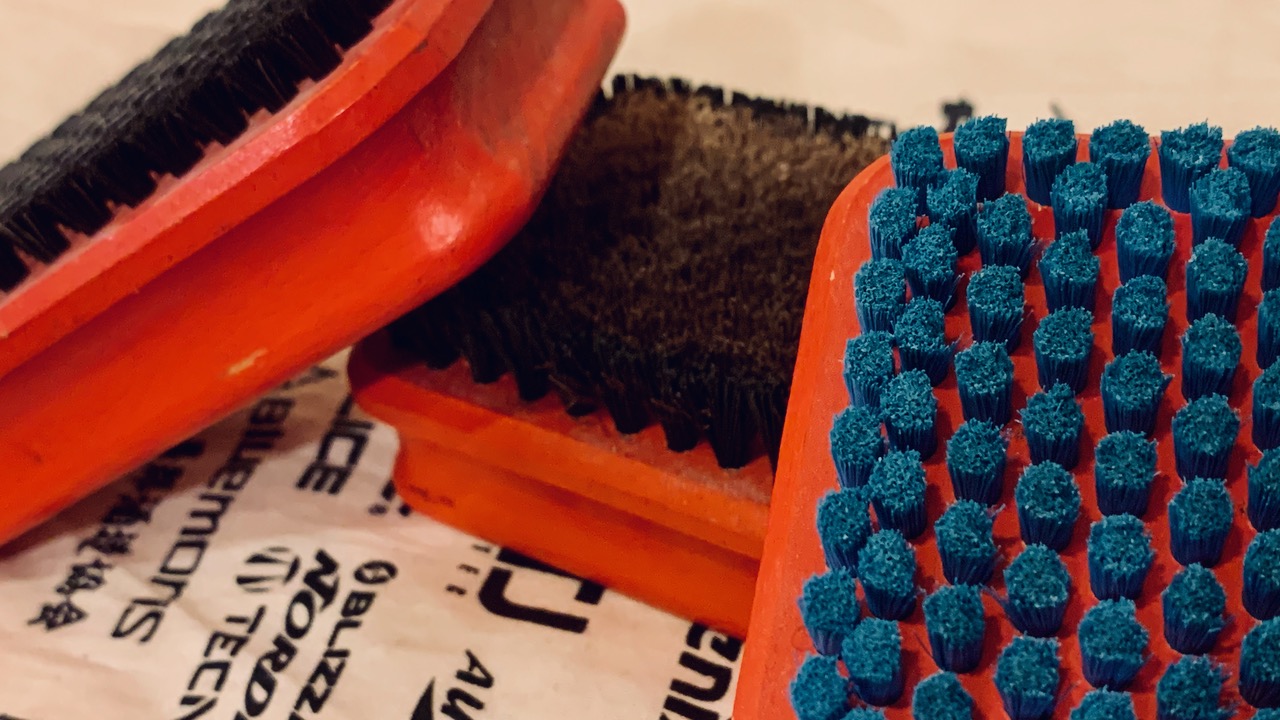 Photo: Variety of Swix brushes.
Hot Waxing Techniques
Like most things in life, there are more ways to skin a cat than meets the eye (we don’t condone skinning cats). Here are some great resources when it comes to tuning techniques. For the everyday skier, we’ll look into basic ski waxing. Racers looking to improve their technique have some great resources.
Simple guide from Nordica (Click to open)

Race-oriented guide from Sidecut Tuning (Click to open)

Storage Wax
Start by scraping the edges of any leftover wax that was put on to keep the edges rust-free and then move onto the base which was coated to prevent drying of the base. Imagine the base as a sponge. We want to keep as much wax in the base as possible. This wax had probably accumulated dirt and dust and protected the base over the summer. Scrape the bases clean using a wax scraper and get the wax pores open with a good brass brush.
Don’t be too concerned with getting the perfect finish. This step in the process is just clearing the way for what is to come. In this step, if there is any excessive dirt in the wax, maybe putting on another of the same wax and scraping while it is still warm is a good idea. This can remove the dirt before any other waxes are laid down.
Base Condition
Before doing anything else, the next important thing to do is just give the ski a good inspection. Some things we’ll be looking for are:
Gauges / Deep Scratches - These can impact the core if the damage is too deep. Keeping a good barrier and base depth is important to keeping the ski feeling as good as it does from the first day. Many deep gauges in the center of the ski may be repaired using p-tex and melting directly onto the ski, sometimes in small layers with many cooling phases in between. But if they are near the edge, enlisting a professional ski technician may be necessary to use metal grip which will adhere to both the base material and the edge.
Flatness - Using something like a flat bar or a 90° ruler to check for a flat base. If there are any large convex or concave shapes, have the ski stone ground by a professional technician.
Edges - Check for any burrs or nicks in the edge. A diamond stone can smooth out any rough spots found on the ski. In severe cases, using a file and guide may be the best route and smoothing it on over the length of the ski. Any major burrs and nicks not taken out before the waxing may damage the waxing iron.
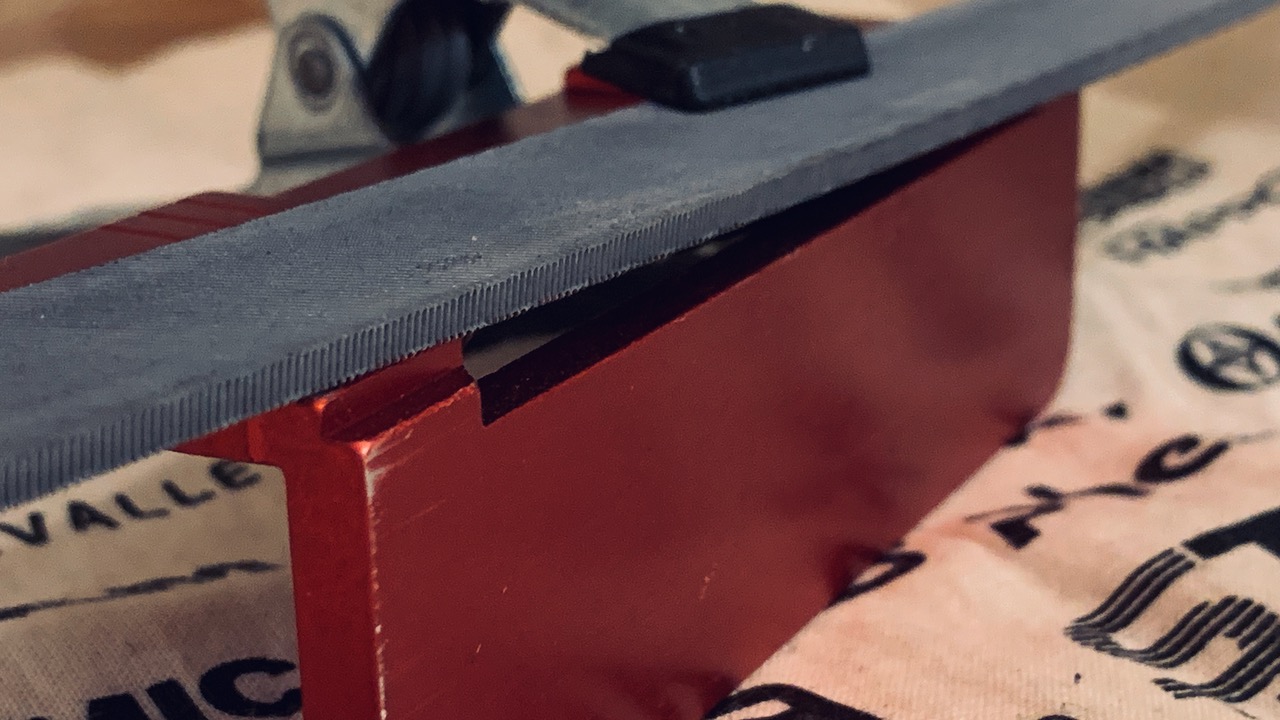 Photo: File ready to be used on an aluminum guide.
Wax Soak
Even with the summer wax providing protection against the elements and also against damage, the wax is impenetrable. Storage wax will not be enough to keep the skis from “drying out.” Even at the World Cup level where keeping the conditions in tip-top shape is absolutely necessary, they are waxing the skis throughout the summer. But for the simple folk like us, it won’t make a difference when we get on snow.
Apply a universal glide wax and let it cool for 3+ hours. Scrape and brush as though it were a regular wax session. Repeat 2 or 3 times to give the base the juice that it needs to glide.
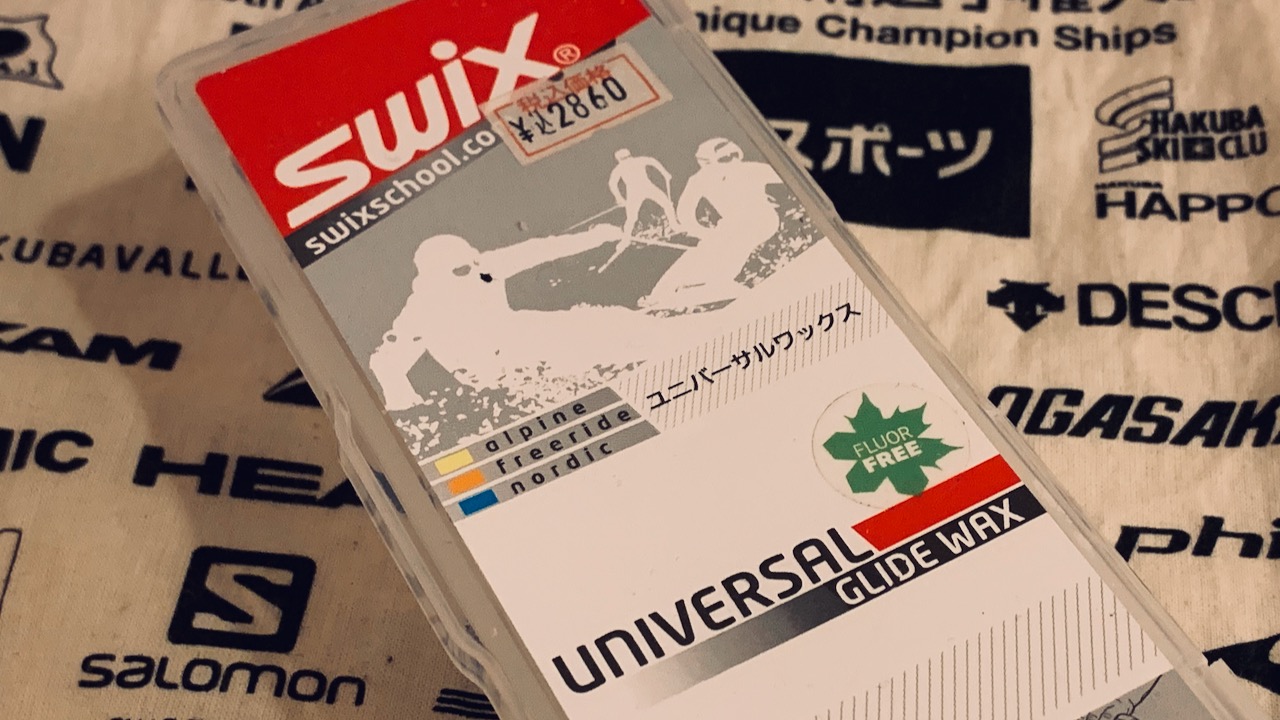 Photo: Swix’s universal ski wax.
Priming The Base
(New Skis or Stone Ground Skis)
To really lock in that universal glide wax, we will use different variations of waxes to make the ski more versatile in all conditions. For the next step, we will be waxing the ski about 6 times with scraping. Brushing is optional.
- Warm-Temp
- Wax → Scrape
- Wax → Scrape
- Mid-Temp
- Wax → Scrape
- Wax → Scrape
- Cold-Temp
- Wax → Scrape
- Wax → Scrape
Starting from warm wax and progressing to cold wax, completely wax the ski about 6 times. The cold/hard wax used last will help to make a stronger barrier to keep the wax from drying out before the first snow.
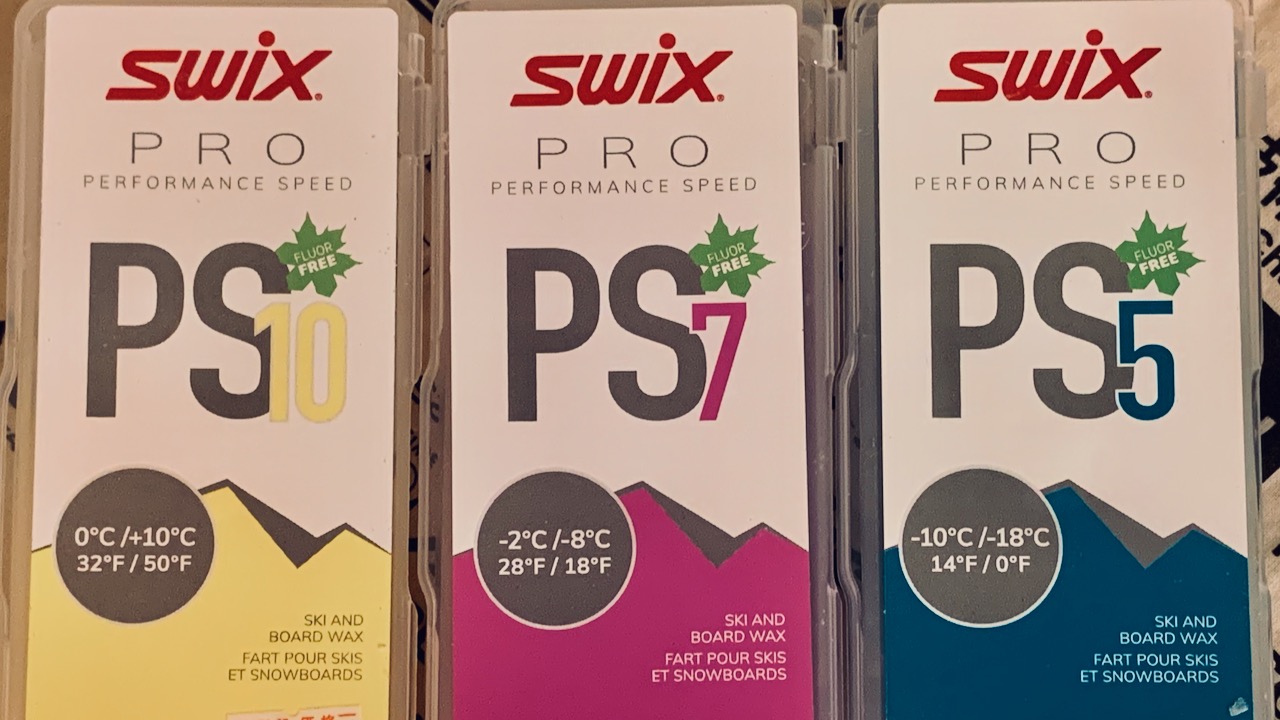 Photo: Swix’s line-up from warm to cold.
Edge Cleanup
Edges are just as important as the base. To stay in control in varying conditions, a solid edge tune will be the difference between traversing an ice ledge and falling victim to it. When choosing to tune skis using a file guide, be sure to scrape and brush to expose the flat base for a better tune. Any leftover wax on the base may potentially alter the angle of the guide relative to the base.
Using an edge guide and file, lightly run along the edge with the grip of a firm handshake. Let the tools do the work. If plastic is being taken off instead of edge material, cutting back the sidewall material may be necessary.
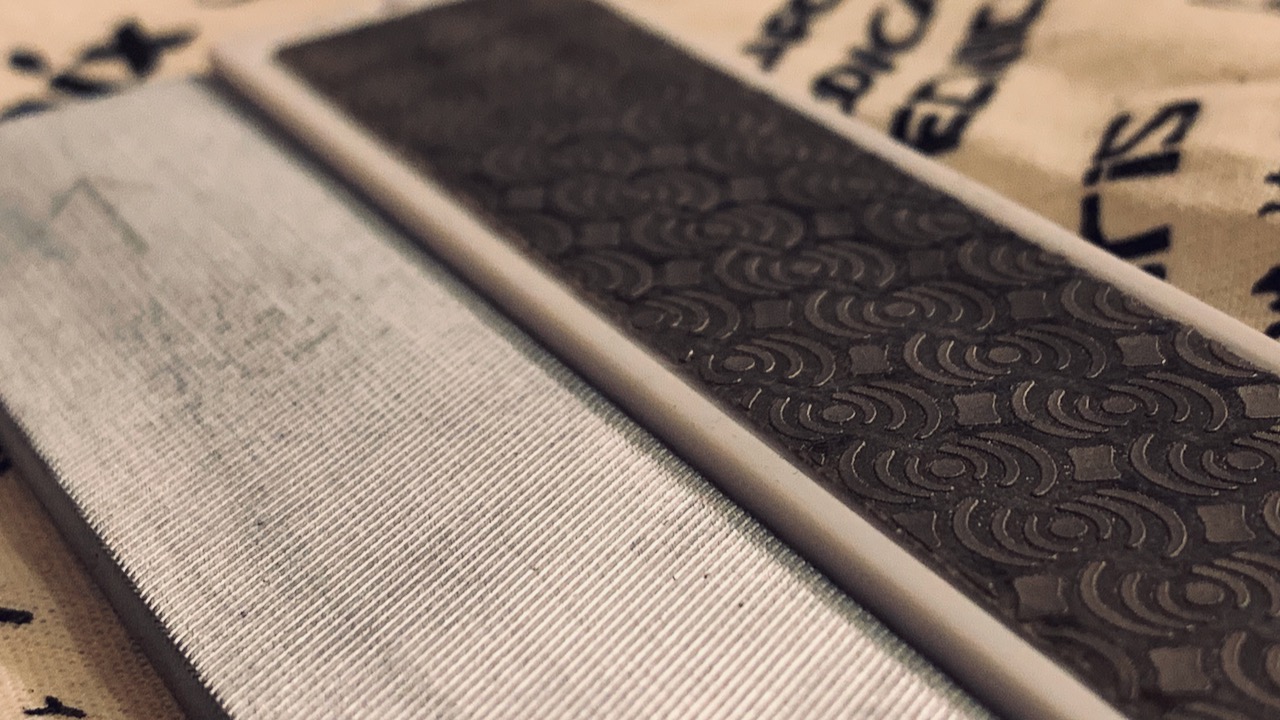 Photo: Fine teeth file and diamond stone side-by-side.
When planning to remove only a small bit of material, a diamond stone may be more than enough for most. Using an edge file and guide is just about enough, maybe even less in powder. As a local go-to technician for many weekend warrior racers, I will prepare the edges at the beginning of the season. After each day of skiing, those skiers will just take a diamond stone or ceramic stone and lightly touch up the edges until they feel sharp again. This gives the skis a little more longevity because the edge material stays around much longer.
Scrape To Go
For the last step, we probably left a few marks on our base after using the guide or any other tools to get the edge back in condition. For the last step, just take a mid-temperature range of wax and do a full wax and don’t scrape. More than likely the first ski falls into temperatures that are from -4°C to -12°C. A mid-temp wax will surely fall into this category and leave you with just a scrape and a brushing before heading to the hill!
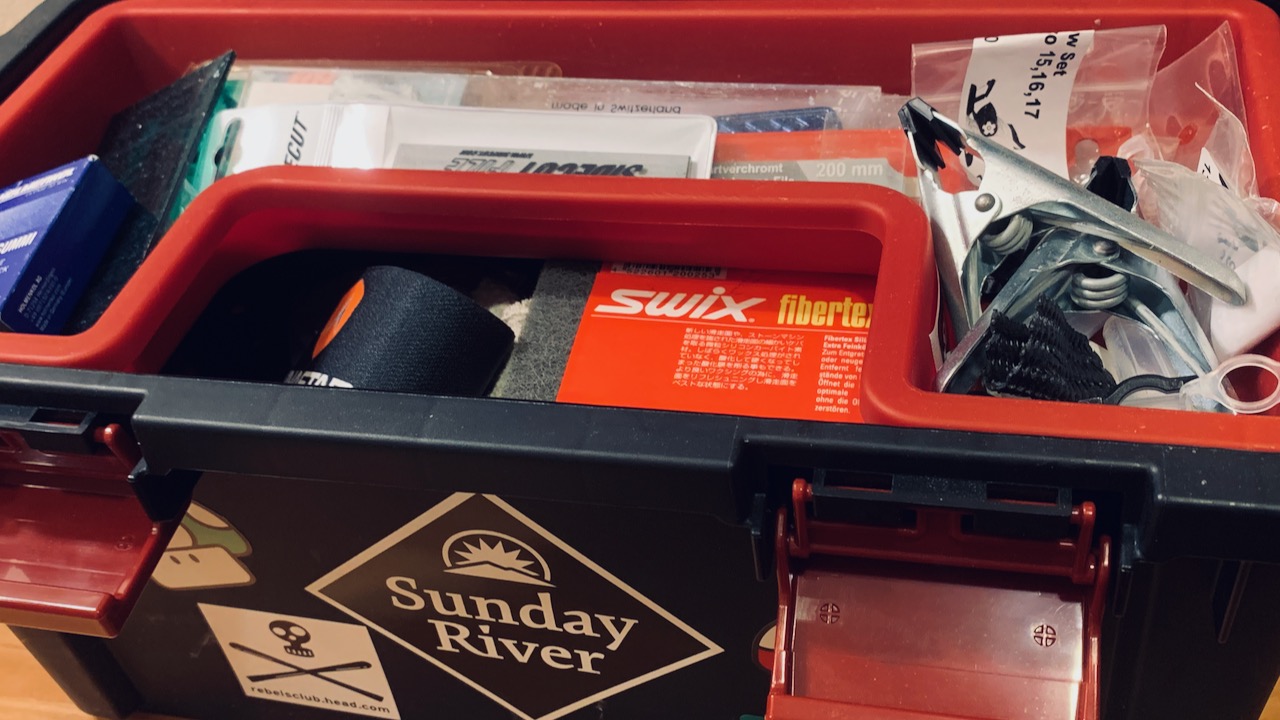 Photo: Toolbox full of ski tuning equipment.
Newer Methods
As of late, there have been some innovative products and methods of wax application that must be mentioned. Let’s take a look at some of them.
Liquid Wax
Liquid wax is exactly as it sounds. The wax is already liquefied and then applied in a rub-on form or spray form. The wax applicator may already have a felt pad that absorbs and spreads the liquid on the base of the ski. Others may just be bottles that can be dripped on the ski and spread using folded wax paper or paper towels.
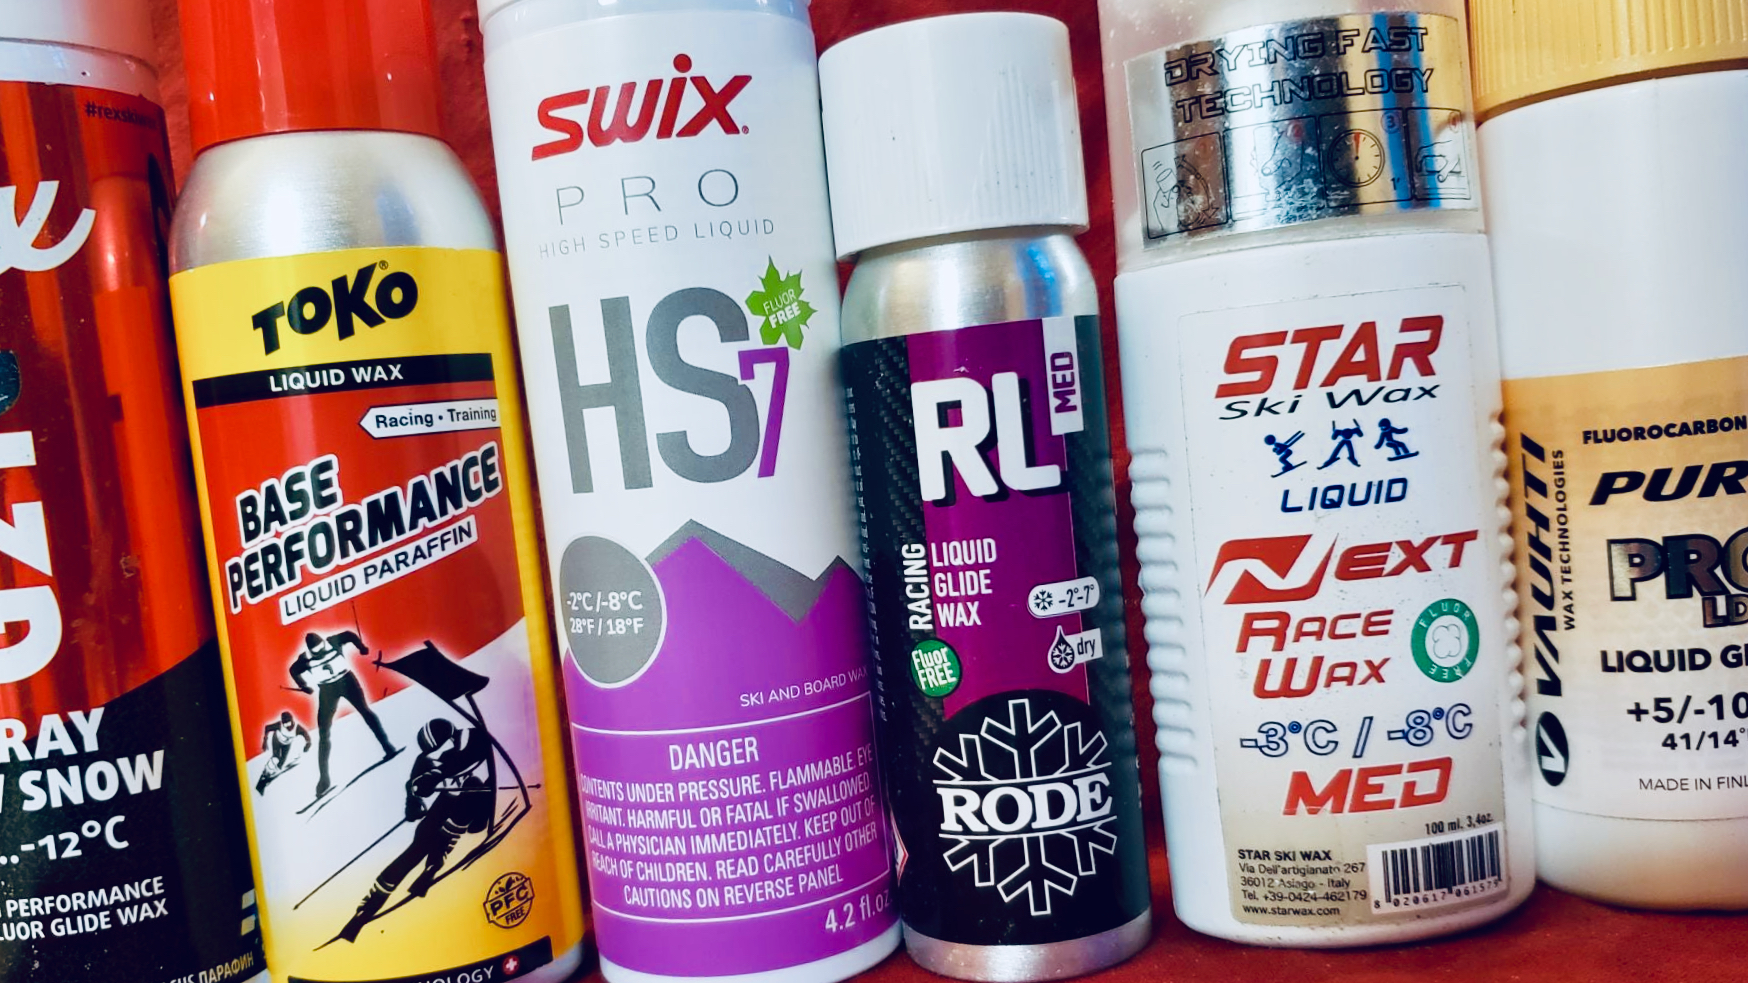 Photo: Variety of liquid waxes from various manufacturers. (Teacup Lake Nordic Cup)
Once applied, these waxes require a drying time of approximately 15 to 30 minutes. Some waxes may leave a white haze when dried on the ski, while others may not be visible when dry. Trust the system.
From here, it’s a light brushing, and the ski is ready to go. Brushing too much or too aggressively will actually remove the wax that was just applied, as the wax does not penetrate as deep into the base as traditional hot wax.
Benefits
- Beginner-friendly
- Time-efficient
- Hard to make mistakes
- Requires few tools
Drawbacks
- Becomes less effective quicker
- Still requires periodic hot waxes
Overall
This is a great waxing method during the ski season. It may not work for pre-season preparation but is a must-have for anyone who wants the best glide without spending hours during the season. It may still require periodic hot waxes to keep the bases from drying out, but a periodic hot wax is much better than doing it every time and for every snow condition. Liquid wax is taking over much of the World Cup waxing scene for its bulletproof method of application and effectiveness when matched with a hot-waxed base for the correct snow condition.
Infrared Waxer (IR)
Infrared has been used for years in ski shops around the world. Many times in a shop, the ski wax is either crayoned on or applied using a hot wax roller. From there, the skis are put on a bench face up under a track. On the track is an infrared lamp that moves at a calibrated speed depending on the wax type. The infrared will go up and down the skis at the appropriate speed for best penetration without needing to excessively heat the base material.
While the typical shop unit is out of the price range of the regular consumer, there is a handheld unit making the rounds. The most common is on sale from mountainFLOW. mountainFLOW is a company that makes eco-friendly and biodegradable ski and snowboard wax. So, the idea of reduced wax waste really connects with the goals of mountainFLOW to reduce waste.
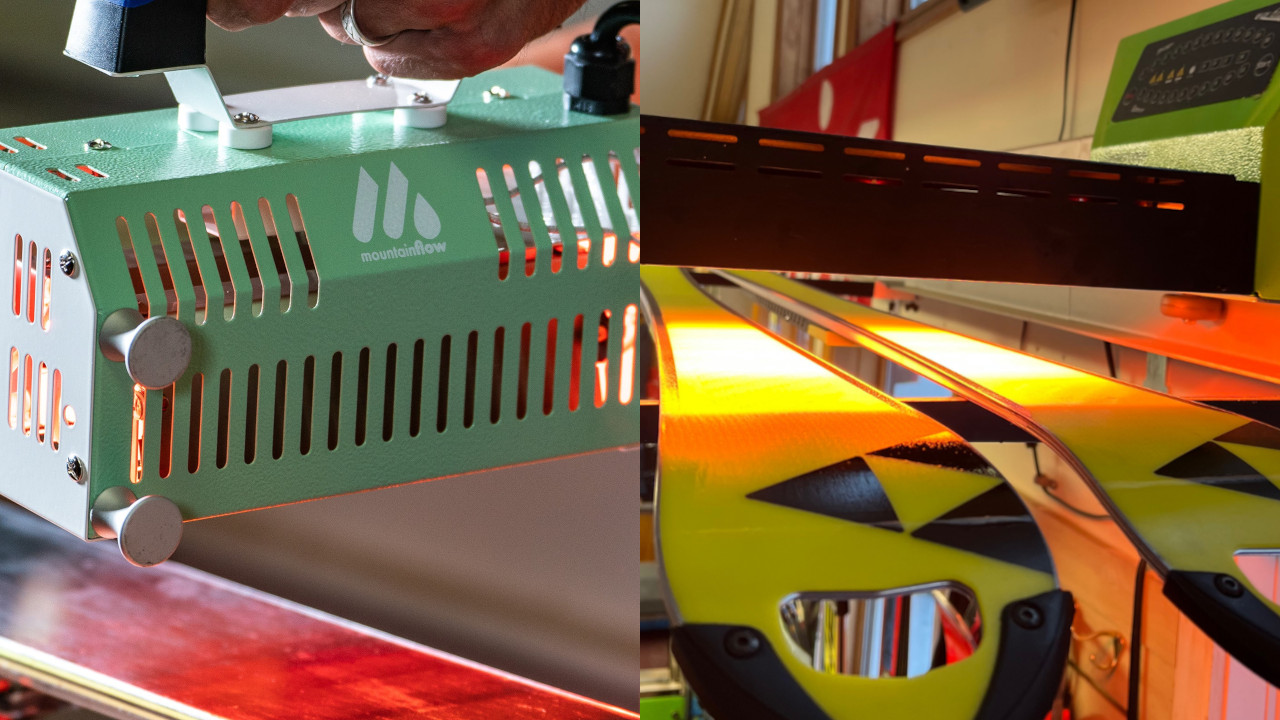 Photo: Handheld IR unit (left) and Wintersteiger IR unit (right).
Here, the wax is applied with the crayon method with full coverage. Unlike the classic hot-iron method, the wax may not spread in multiple directions. So making sure that every millimeter of the ski is crayoned with wax is important. After that, the handheld IR lamp is held slightly above the base and slowly moved along the ski at the same height. It’s a fine balance of not getting too close to overheat the wax and not being too far to properly heat the wax for absorption. After cooling, what little wax remains can be scraped away easily and then brushed for the final finish.
Benefits
- Reduces waste
- Reduces wax applied during each waxing
- Reduces core temperature fluctuation
- Reduces chance of burning the base
Drawbacks
- Possibly uneven waxing points
- Delicate equipment
- Crayoning evenly can be difficult
- Black bases warm quicker than colored bases
Overall
Waxing skis can feel daunting at first. The handheld infrared waxing method, on the surface, sounds great due to reduced chances of burning the base and damaging the core of the ski. Also, we should reduce our wax impact by creating less waste from waxing. But don’t be fooled; it can be very fickle if handheld. When making multiple passes up and down the ski, the melting point of the wax can be difficult to spot if done by a beginner. This is an interesting evolution of the waxing method but should be left to the shop with their already calibrated units or to those who are enthusiasts and are willing to risk a poor wax job in exchange for gaining ski tuning credentials.
DPS PHANTOM Glide
The dream of any weekend rider has always been having a universal wax that works for any temperature range. But lately, there has been development in this direction—not only a universal wax but a wax that only needs to be applied once for the entire season! This is where the DPS PHANTOM Glide wax comes in.
DPS Phantom Glide is a permanent wax solution that does not need to be reapplied during the season. Of course, if there is enough damage, then the effectiveness will be reduced, but having a permanent solution has been the holy grail for years.
To apply the DPS Phantom Glide treatment, there are shops that have the equipment to make a flawless application. For a small fee, the permanent solution can be applied to the ski and then cured using a UV light. As this is a one-time solution, it is best to apply it directly after a full stone-grind done by a ski shop.
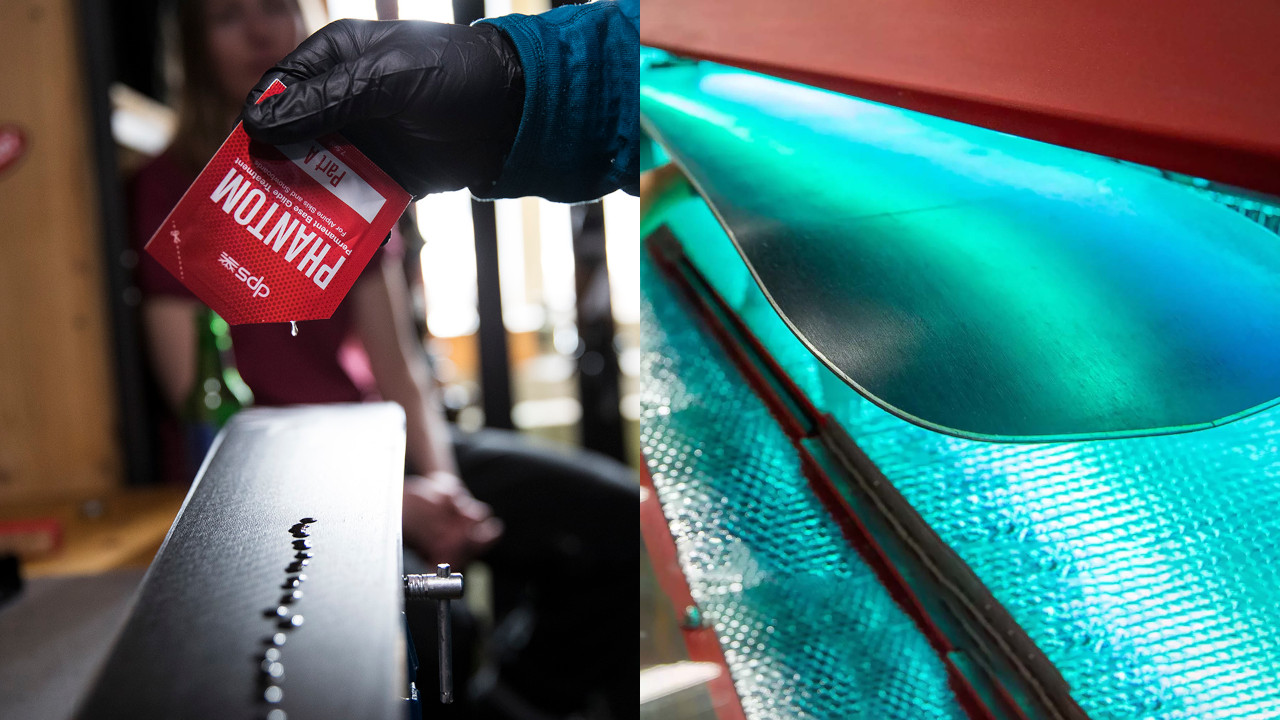 Photo: Application steps of the DPS Phantom Glide treatment.
This can also be done at home too. While most homes don’t have UV lamps like a professional shop, DPS outlines methods to use the sun as a natural UV source to cure the treatment into the base. Just like at a regular shop, after getting a stone grind, you will put the brakes up and clean the bases to remove any leftover bits from the machine and remove any base hairs.
Next, take the solution Part A, open it, and spread evenly along the ski using the sponge in the kit without dripping too much of the precious solution. Making a clear center and then working outwards toward the edges in a rotating method, like waxing, helps get every nook and cranny of the structure covered with the solution. Once both skis are covered, let the treatment soak into the base for 20 minutes. After soaking into the base, wipe the excess solution off with a clean cloth and prepare for UV curing.
The skis in a shop have an easy Phantom Curing Station that only requires twenty minutes of baking in a UV lamp station. At home, though, it requires a bit of planning with mother nature. Using natural sunlight, the curing requires close to 2 hours of bright sunlight, and it cures better in warmer weather. Not only is weather a worry, but also the latitude of where the DIY wax treatment will be done. In high latitudes, the atmosphere can reduce the intensity of the UV wavelengths and may not cure to the peak in the allotted time, potentially requiring longer or a specialized UV source. DPS notes that it can even take up to 6 hours.
Next, thoroughly brush the skis with the brush provided in the box. Do not use your own brush that has been used in the past for traditional waxing. When brushing, the cured dust isn’t beneficial and may reduce brushing performance on future traditionally waxed skis. This will get the majority of it off. Lastly, take a nylon brush (the one provided in the box, or an old nylon brush is okay for this stage) and buff the surface to a sheen.
Then, using the solution of Part B, do the same thing, just using a new solution!
Benefits
- Permanent, one-time application
- Relatively smooth glide
- No current environmental hazards
- Relative cost reduction (compared to traditional hot wax)
- Works across snow temperatures
Drawbacks
- Good glide but not the best
- Cure time when doing DIY takes quite long
Overall
For the great majority who don’t want the tradition of waxing the night before, this is a wonderful solution. It might feel expensive up-front, but it will make up for itself over time. Getting it done before the season begins can provide a stress-free mindset knowing that you won’t need to touch a waxing iron. The performance might not be like a race-ready tune, but most people will never need that level of glide, and a basic universal wax will be more than enough!
Final Thoughts
There are some people who love the tradition of waxing skis and find it almost therapeutic. As technology has progressed, there are also newer methods that can enhance tuning preparation for the winter. Traditional hot waxing is a skill that needs to be honed just like any other. Newer methods make this more approachable and can provide confidence on the first run, knowing that you will have the glide at the end of a chute to make it back to the lift on the flats. Get out there and get ready for the upcoming season.
